Introduction : how to split screen on a mac
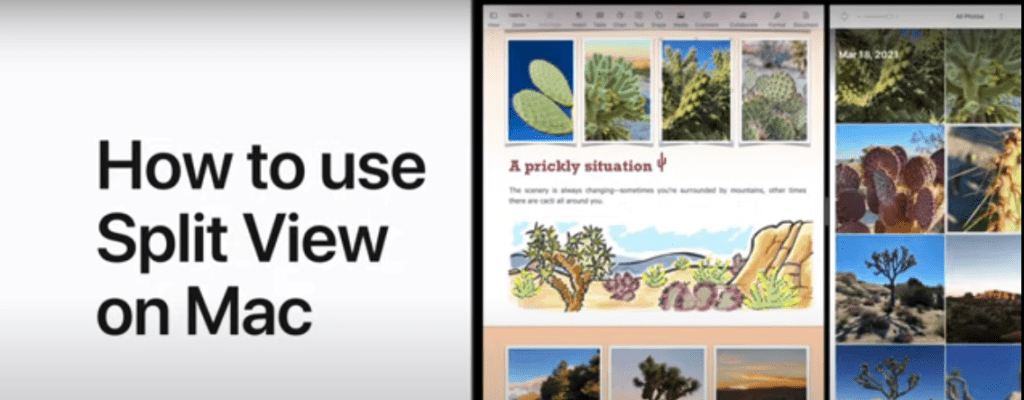
Split-screen functionality, often called “Split View” on macOS, is a game-changer for multitasking. It allows you to work on two applications side-by-side, without constantly switching windows or resizing them. Whether you’re working on a MacBook Air or using a monitor with your Mac, mastering Split View can significantly improve your productivity. In this guide, we’ll walk you through everything you need to know, including how to do a three-way split screen and troubleshooting tips.
Why Use split screen on mac?
Split-screen functionality offers a way to maximize your efficiency by having multiple applications open and visible at the same time. This is particularly useful if:
- You’re comparing data between two documents, spreadsheets, or websites.
- You need one window for communication (email, chat) while another is used for your project.
- You want to watch a tutorial or video while taking notes or following along on another application.
To access Split Screen on a Mac, ensure you’re using macOS El Capitan or a later version, as this feature has been standard since then. Follow these steps to enter Split View:
- Open Two Applications: Start by opening the two apps you want to use side by side, such as a browser and a word processor.
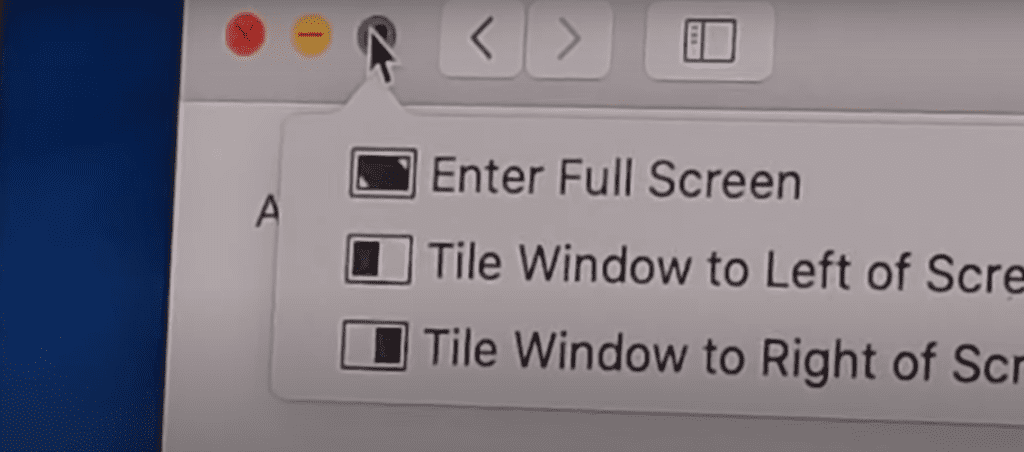
- Hover Over the Green Button: In the top-left corner of any application window, you’ll see three colored dots: red (to close), yellow (to minimize), and green (for full-screen mode). Hover over the green button for a moment.
- Choose Split Screen Mode: You’ll see two options appear: “Tile Window to Left of Screen” and “Tile Window to Right of Screen.” Select the one you prefer, and your window will fill that side of the screen.
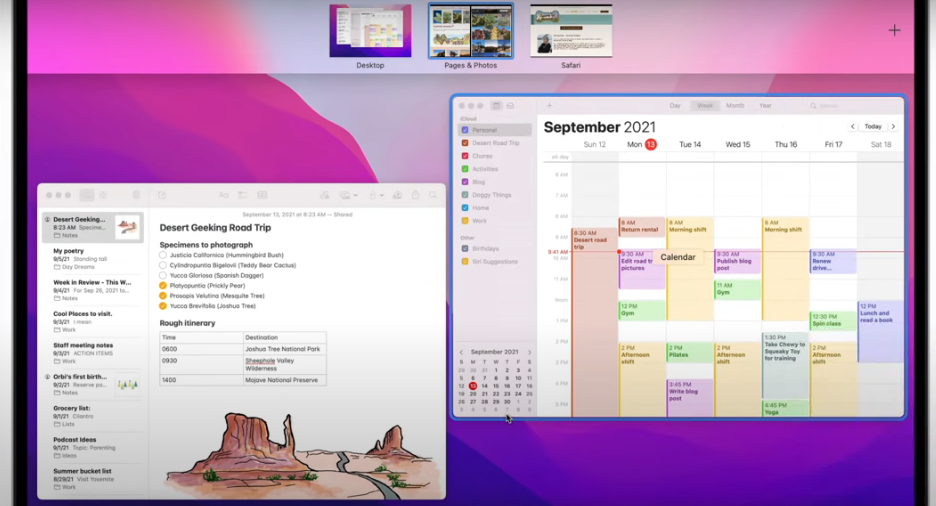
- Select the Other Application: The remaining space will show the thumbnails of other open apps. Click on the app you want to display on the other half of the screen.
Adjusting Windows in Split View
Once you’re in Split View, you can adjust the window sizes by dragging the vertical black divider between them. You can give more screen space to one app if needed.
To switch the position of the two windows, hover your mouse at the top of either window until the gray menu bar reappears. Drag the title bar to the other side, and the two windows will swap places.
How to split screen on a macbook air
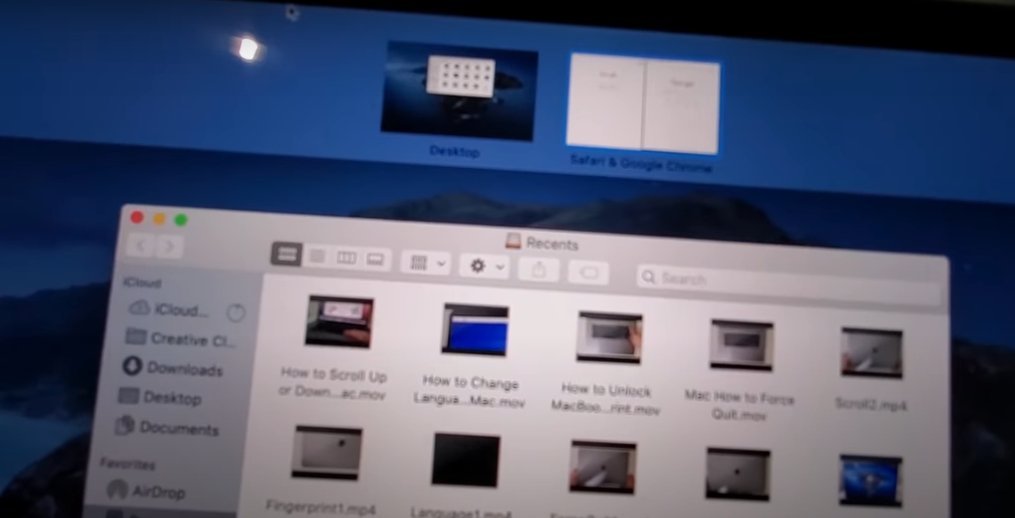
The steps to split the screen on a MacBook Air are the same as on any other Mac device:
- Open the two apps you want to split.
- Hover over the green button in one of the app’s windows.
- Select either “Tile Window to Left of Screen” or “Tile Window to Right of Screen.”
- Click on the other app’s thumbnail to fill the remaining space.
MacBook Air users benefit from this feature just as much as users of MacBook Pros or desktop Macs. It’s especially useful given the limited screen real estate on a 13-inch MacBook Air.
How to Split Screen on Mac with a Monitor
If you have a monitor connected to your Mac, using Split View becomes even more powerful. You can open two apps in Split View on your laptop and additional apps on the monitor. To set up Split View on a Mac with a monitor:
- Connect Your Monitor: Ensure your Mac is properly connected to an external monitor using the correct cable (e.g., USB-C, HDMI).
- Drag Windows to Different Screens: Once connected, drag one app window to your MacBook screen and another to the monitor. You can still use Split View by tiling windows on either screen.
- Maximize Space: On both screens, you can split the view by repeating the steps mentioned earlier to view two apps side-by-side on each screen.
This setup is ideal for designers, programmers, or anyone needing to reference multiple sources of information simultaneously.
3 way split screen mac
Though macOS does not natively support 3 way split screen mac, there are workarounds. Here are two ways you can achieve a similar effect:
- Use Third-Party Apps: Applications like Magnet or BetterSnapTool allow you to divide your screen into more than two parts, including setting up three or even four-way split screens. These apps let you drag and snap windows to specific parts of the screen with ease.
- Manually Resize Windows: If you don’t want to install third-party software, you can manually resize windows by dragging their edges. This is less automated but allows for a 3-way split if you carefully adjust the windows to fit on your screen.
How to Exit split screen on a mac
When you’re done with Split View and want to return to a single window:
- Move Your Cursor to the Top of the Screen: Doing this will make the window controls (red, yellow, green dots) reappear.
- Click the Green Button: This will return your window to its normal size and exit full-screen mode. You can also press Esc to exit Split View.
- Close the Other App: If one app remains in full screen, use the same method (hover and click the green button) to bring it back to a regular window.
Troubleshooting Split View on a Mac
If Split View isn’t working as expected, here are a few troubleshooting tips:
- Check Your OS Version
Split View only works on macOS 10.11 (El Capitan) and later. If you’re using an older version, consider upgrading your operating system.
- Enable “Displays Have Separate Spaces”
Go to System Preferences > Mission Control and make sure the “Displays have separate Spaces” option is checked.
- Verify Full-Screen Mode
Split View doesn’t work if an app is already in full-screen mode. Exit full-screen mode, and then attempt Split View.
Conclusion
Whether you’re using a MacBook Air or a desktop Mac with an external monitor, Split View is a versatile tool to help you multitask more effectively. With these steps, you now know how to split screen on a Mac, set up a 3 way split screen mac using third-party apps, and troubleshoot common issues. Now you can maximize your screen space and productivity with ease!



Pingback: How Does Generative AI Work? A Deep Dive into AI Image Generation and the Future of Art 2024 -